How to Properly Level Your RV on Your First Setup

SIMPLE GUIDE FOR BEGINNER CAMPERS
Arriving at the campsite is always an exciting moment. But before setting up your chairs and lighting the BBQ, one essential step should never be overlooked: leveling your RV/trailer.
A properly leveled RV ensures your comfort, protects certain equipment, and makes the experience much more enjoyable, especially if you’re new to camping. Good news: with the right steps and a little method, it’s much easier than you might think.
WHY LEVELING YOUR RV IS SO IMPORTANT
An RV that isn’t properly leveled can cause several inconveniences:
-
Feeling tilted inside (walking, sleeping, or cooking becomes less comfortable)
-
Improper functioning of some appliances, especially the refrigerator
-
Unnecessary stress on the structure, stabilizers, and mechanical components
In short, taking a few minutes to level your RV properly is an investment in your comfort and the durability of your vehicle.
BASIC TOOLS TO GET STARTED
Before your first setup, make sure you have:
-
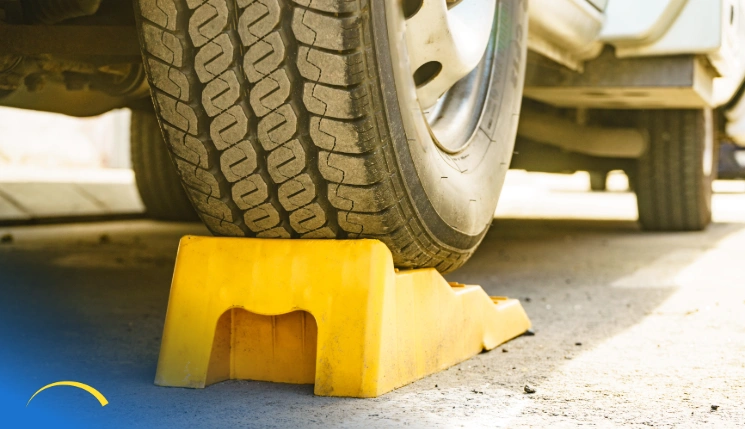
Leveling blocks to adjust the height of the wheels
-
A bubble level (or electronic level)
-
Wheel chocks to secure the RV once in place
-
A jack or leveling system, depending on your type of RV
These accessories are simple, affordable, and essential for every camper.
STEPS TO LEVEL YOUR RV PROPERLY
1. CHOOSE THE BEST POSSIBLE SPOT
First, park your RV on the flattest surface possible. A slight repositioning can often prevent major adjustments later.
Camper tip: two minutes spent positioning can save you ten minutes of corrections.
2. ADJUST SIDE-TO-SIDE LEVEL
Place the level inside the RV on a stable surface.
-
Identify the lower side.
-
Place leveling blocks under the affected wheel.
-
Slowly drive the RV forward or backward until a satisfactory level is reached.
Tip: Avoid stacking too many blocks. If you need several, it’s better to reposition the RV.
3. SECURE WITH WHEEL CHOCKS
Once the side-to-side level is correct, install wheel chocks. This step is essential to prevent any unwanted movement, especially for trailers.
4. ADJUST FRONT-TO-BACK LEVEL
For trailers, use the hitch jack to adjust the front-to-back level. Check again with the bubble level to ensure everything is straight.
5. INSTALL THE STABILIZERS
Stabilizers reduce movement—they do not level the RV. Once leveling is complete, lower them gently to the ground without lifting the vehicle.
WHAT IF YOUR RV HAS AN AUTOMATIC LEVELING SYSTEM?
Automatic systems make setup much easier, but they don’t replace proper practices:
-
Park on as flat a surface as possible
-
Use pads or cushions under the jacks to prevent sinking
-
Always follow the manufacturer’s instructions
-
Stabilizers should never lift the wheels completely off the ground
PRACTICAL TIPS FOR BEGINNER CAMPERS
-
Make it a habit to always check the level before setting up
-
Keep your bubble level handy
-
Take your time: leveling is not a race
-
After a few trips, it will become second nature
CONCLUSION
At Centre du VR Gatineau, we know that first-time camping trips come with many questions. That’s normal.
Our mission is to be a trusted partner before, during, and after your purchase.
Whether it’s choosing the right accessories, understanding RV maintenance, or preparing for your first adventure, our team is here to guide you with a human approach and proven expertise.
Have questions about setting up your RV or need the right leveling accessories?
Visit us or contact our team.
FAQ – RV LEVELING
How long does it take to level an RV properly?
Usually between 5 and 10 minutes once the method is mastered.
Is it necessary at every setup?
Yes. Even seemingly flat terrain can have a slight slope.
Can stabilizers be used to level the RV?
No. They are only meant to stabilize the RV or trailer after leveling is complete.
Centre du VR Gatineau – Your adventure, our passion